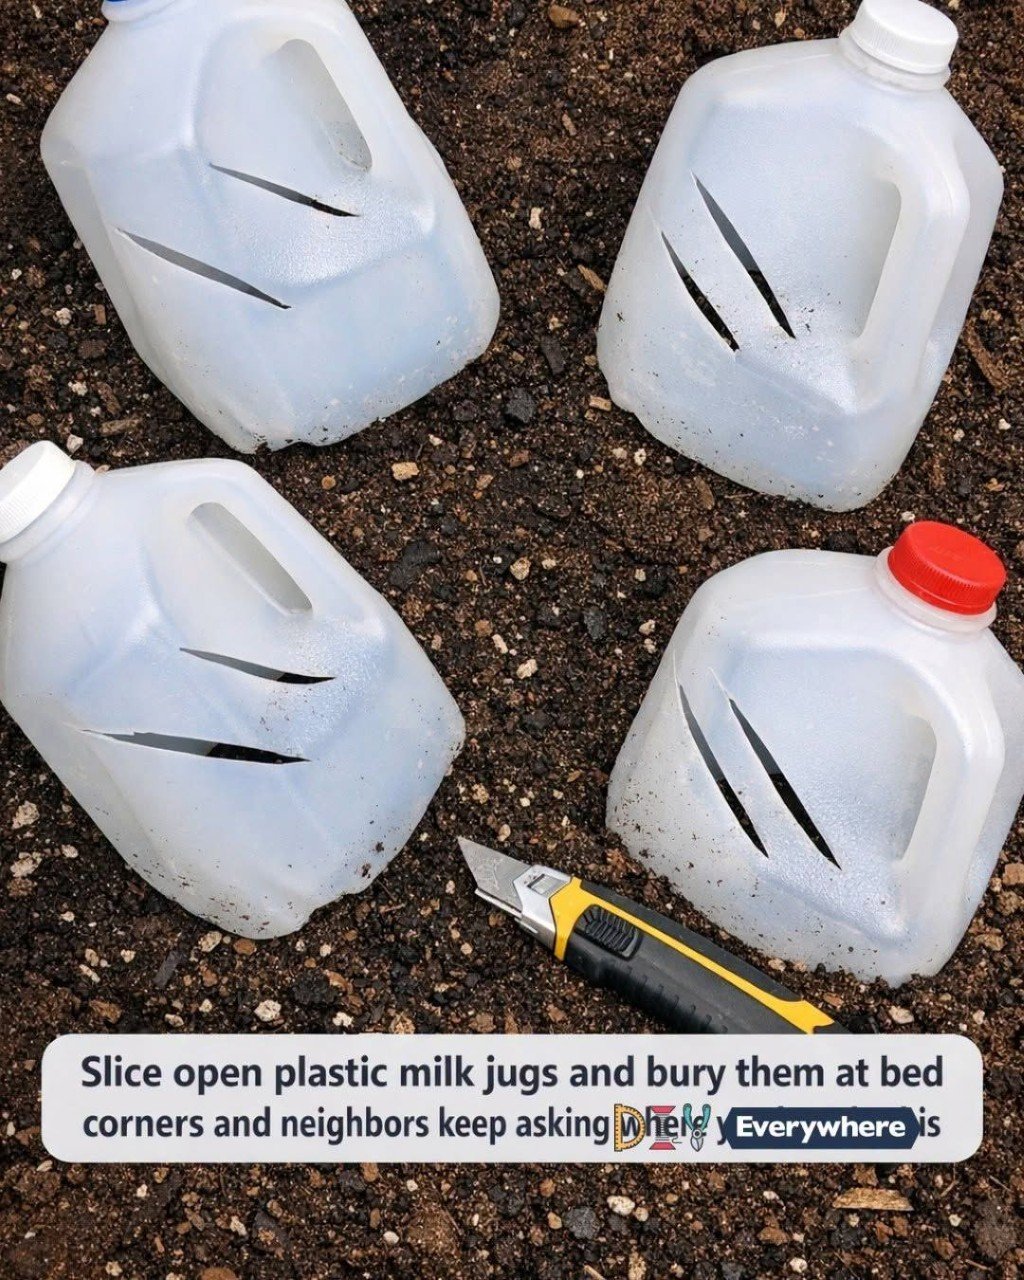
Buried Milk Jug Watering Trick: The Free Garden Hack Neighbors Keep Asking About
Step 3 — Fill and Maintain
What to do: Fill the jug with water and top it up as needed.
How to do it: Pour water in through the opening (a funnel or hose helps) and put the cap loosely back on to keep out debris and mosquitoes. Check every few days and refill when empty.
Tips for Better Results
- Tip 1: Keep it simple. One jug per corner is enough for a small raised bed.
- Tip 2: Choose clean, white or translucent jugs, and rinse out all milk residue to avoid smells.
- Tip 3: Avoid placing jugs where you often walk or dig.
- Tip 4: Try adding diluted liquid fertilizer to the water for a gentle feed.
- Tip 5: Mulch around the jugs to keep moisture in the soil.
- Tip 6: Mark the cap with a bright color so you do not lose it in foliage.
- Tip 7: For a better result, use larger jugs for thirsty crops like tomatoes and squash.
FAQ
What is the best way to use buried milk jugs?
Bury them to the neck near plant roots, with slits below the soil line, and refill regularly.
How often should I refill them?
Every 2-4 days in warm weather, less often in cool or rainy periods.
Can I do this at home?
Yes. It needs only a used jug, a knife, and a small shovel.
What should I avoid?
Avoid oversized slits, jugs with milk residue, and leaving the opening uncovered, since debris and mosquitoes can get in.
Conclusion
Buried milk jugs are a cheap, low-effort way to keep garden beds evenly watered while reusing plastic you would otherwise throw away. They save time, reduce runoff, and get water straight to the roots. Set up a few this weekend and watch your plants thrive. Next, read our guide to [internal link: more free ways to reuse plastic in the garden].