Buried Milk Jug Watering Trick: The Free Garden Hack Neighbors Keep Asking About
Buried Milk Jug Watering Trick: The Free Garden Hack Neighbors Keep Asking About
Garden beds dry out fastest at the corners and edges, and daily watering eats up your time. This simple hack turns an empty plastic milk jug into a slow-release watering reservoir that feeds roots directly. You will learn how to cut, bury, and fill the jugs, plus how to avoid the mistakes that make them fail.
Step 1 — Cut the Slits
What to do: Prepare a clean, empty jug so water can seep out slowly.
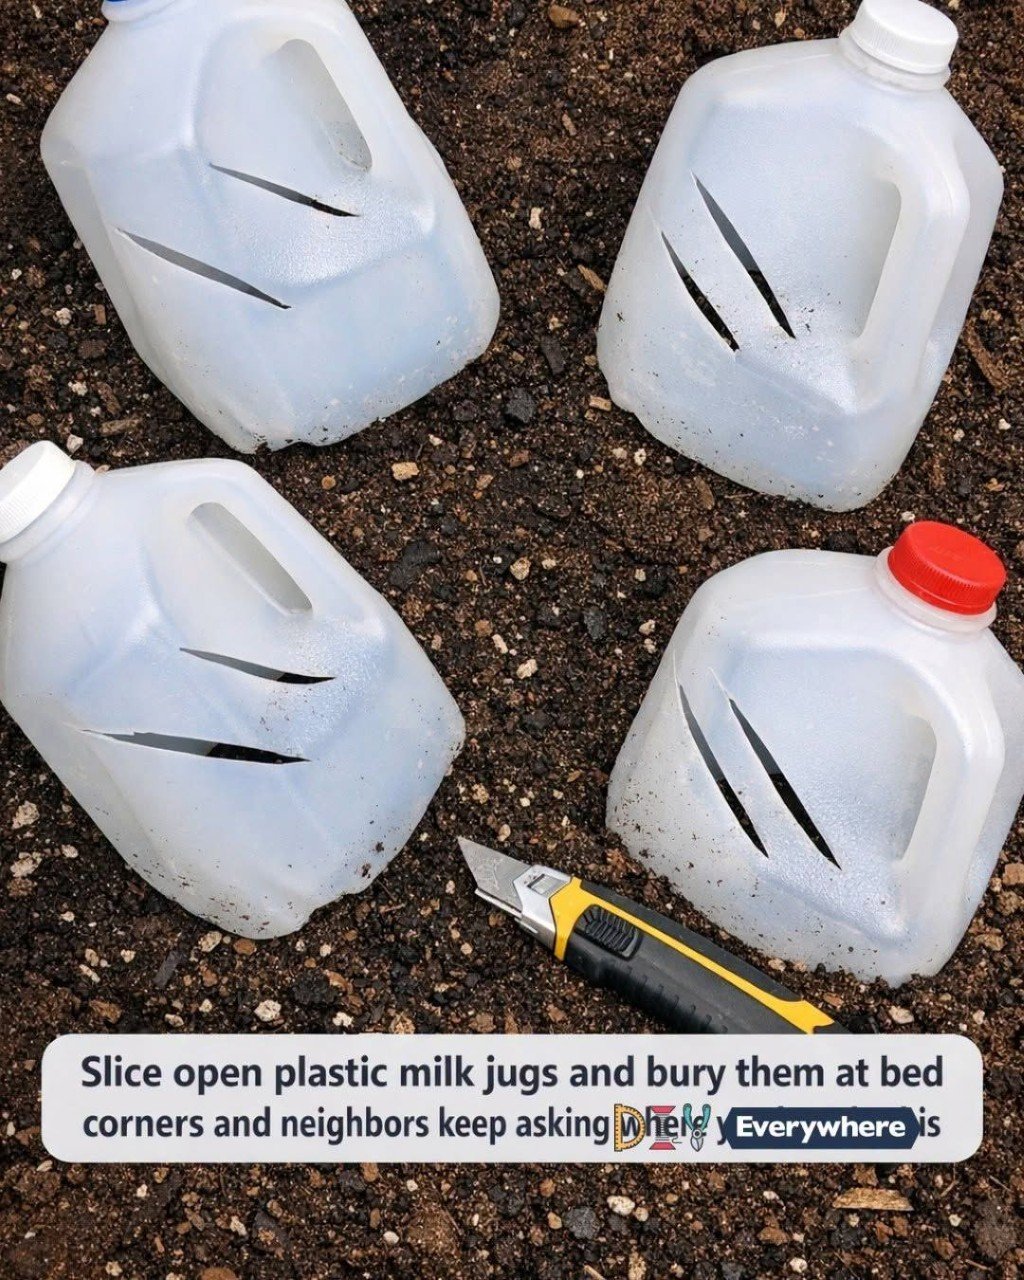
How to do it: Rinse the jug well and keep the cap. Using a utility knife, cut two or three angled slits, about 2-3 inches long, on the lower half of the sides. Cut away from your body on a stable surface.
Common mistake to avoid: Making slits too wide or too many. The jug will empty in minutes instead of releasing water slowly. Short, narrow cuts work best.
Step 2 — Bury It at the Bed Corners
What to do: Place a jug at each corner, or beside thirsty plants.
How to do it: Dig a hole deep enough to bury the jug up to its neck, about 2-4 inches from the plants. Firm the soil around it so the slits sit below the surface, and leave the opening at ground level.
Common mistake to avoid: Burying it too close to young stems. Keep a few inches of distance so roots grow toward the water instead of getting soaked.