How to Propagate Christmas Cactus in a Few Easy Steps
How to Propagate Christmas Cactus in a Few Easy Steps
Whether you want to rescue a leggy holiday plant, fill out a sparse pot, or share cuttings with friends, propagating a Christmas cactus is surprisingly effortless. Unlike finicky houseplants that need special hormones or tricky setups, each segmented stem piece can grow into a brand-new blooming plant. Below, you will learn how to take clean cuttings, prevent rot with one crucial waiting step, and root them quickly at home.
Step 1 — Take Clean Stem Cuttings and Let Them Callus
What to do: Harvest healthy stem sections of 2 to 4 segments each and allow the cut ends to dry before planting.
How to do it: Pick firm, dark green stems (ideally in spring or early summer after blooming ends) and gently twist off a 2-to-4-segment piece right at a natural joint, or snip cleanly with sterilized scissors. Lay the cuttings on a paper towel out of direct sun for 24 to 48 hours until the cut base dries and seals over.
Short practical explanation: Letting the stem end form a dry callus keeps soil bacteria and excess moisture from causing mushy rot once the cutting goes into potting mix.
Step 2 — Plant the Callused Cuttings in Fast-Draining Soil
What to do: Insert the dried bottom ends upright into a small container filled with loose, airy potting mix.
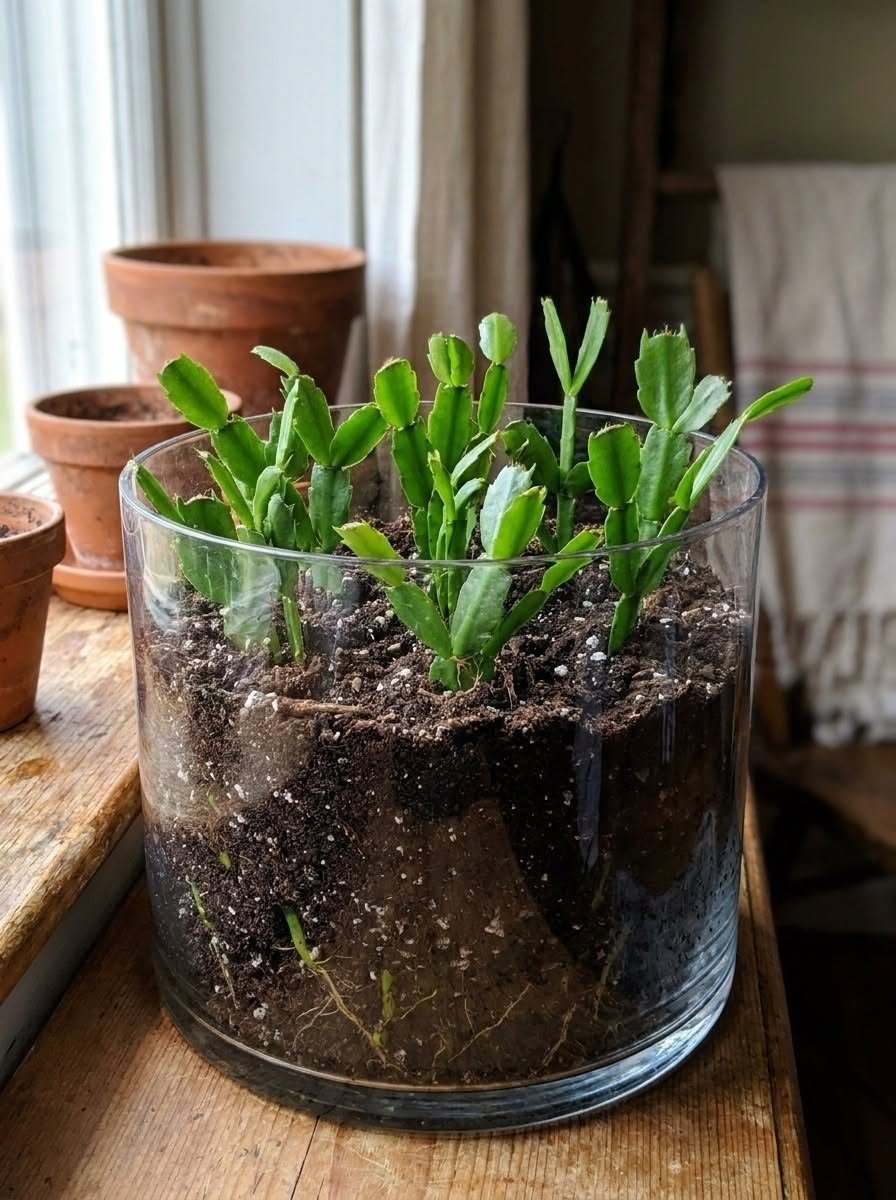
How to do it: Fill a pot with drainage holes using a 50/50 blend of indoor potting soil and perlite (or standard cactus mix). Push the bottom segment about 1 inch deep into the mix—grouping 3 to 5 cuttings together if you want a full, bushy pot—and water lightly just to settle the soil around the stems.
Common mistake to avoid: Never plant cuttings in a deep, drainage-free glass jar and water heavily. While clear vessels make it fun to watch early roots form, trapped water pooling at the bottom quickly suffocates and rots Christmas cactus stems.
“Read the Next Page for More Details”
Pages: 1 2